Losing important files can be stressful. Whether it’s accidental deletion, formatting errors, or system crashes, data recovery doesn’t have to be complicated. With the right tools, you can restore your files quickly and efficiently.
EaseUS offers a powerful solution trusted by 72 million users worldwide. Its intuitive interface makes it easy for anyone, regardless of technical skill, to retrieve lost documents, photos, and more. The software supports 250+ file types, ensuring broad compatibility.
Need to recover files from a hard drive, SSD, or USB? This guide covers everything. You’ll learn how the free version works and when upgrading to the pro version makes sense. Let’s get started.
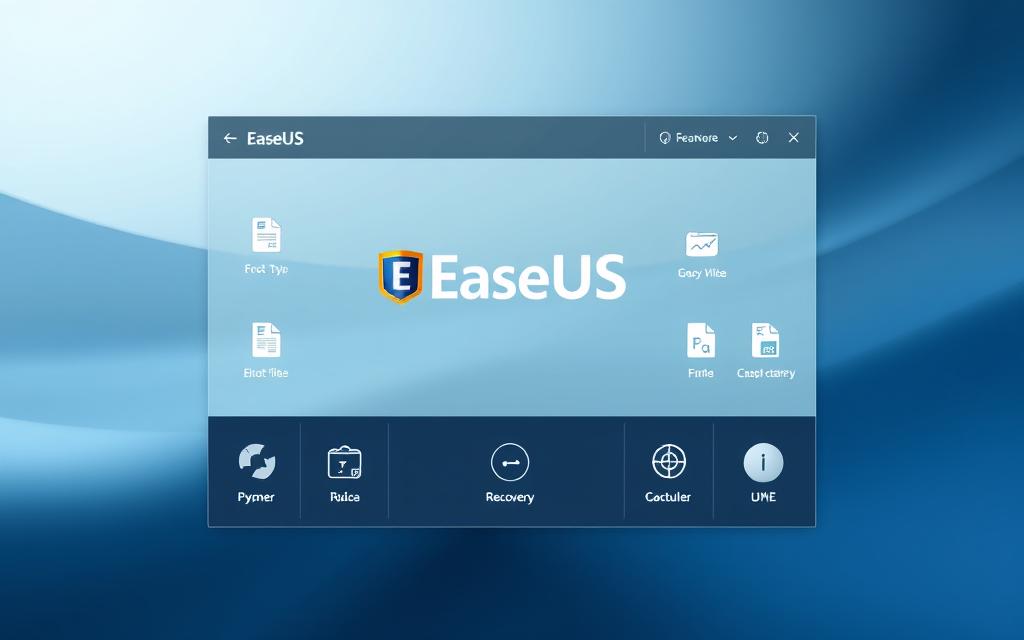
Introduction to EaseUS Data Recovery Wizard
Accidentally deleted files don’t have to stay lost forever. The data recovery wizard by EaseUS combines speed and precision, supporting FAT32, NTFS, and HFS+ file systems. Whether it’s a formatted SSD or a corrupted USB, this tool restores data across 160+ countries.
- Quick & Deep Scan: Locates recently deleted files or deeply buried data.
- File Preview: Verify recoverable photos, videos, or documents before restoring.
- Partition Recovery: Fixes lost or damaged partitions without data loss.
Compatible with WD, Seagate, and Samsung drives, it also works with SanDisk memory cards. The read-only operation ensures your original files remain untouched during recovery.
Free vs. Pro Versions:
The free edition recovers up to 2GB, while the Pro version offers unlimited recovery and RAID support. Both work seamlessly on Windows 11/10/8/7 and Server OS.
Recognized in 2025 for its Best-Value Bundle, this tool also repairs corrupted files. Trusted by millions, it’s a top choice for hassle-free retrieval.
How to Download and Install EaseUS Data Recovery Software
Restoring lost documents begins with proper setup. This section covers downloading and installing the tool on Windows or Mac. Follow these steps to ensure a smooth start.

Downloading the Software
Visit the official website to get the latest version. Choose between Windows (drw_trial.exe) or Mac installers. The free data recovery option allows testing before upgrading.
- System Requirements: 32MB disk space, 128MB RAM minimum.
- Security: Certified installers with no bundled malware.
- Direct Links: One-click downloads for both OS versions.
Installing on Windows or Mac
After downloading, launch the executable file. The process differs slightly by OS:
| Step | Windows | Mac |
|---|---|---|
| 1. Permissions | Accept admin privileges | Grant Gatekeeper access |
| 2. Storage Path | Customizable during setup | Default Applications folder |
| 3. Post-Installation | Desktop icon created | Check SIP settings if blocked |
Troubleshooting Tips:
- Add exceptions in antivirus software.
- Run as administrator for permission errors.
- Verify the desktop shortcut post-installation.
The recovery wizard free version auto-launches after installation. For continuous use, explore the free data recovery tool’s full capabilities.
How to Use EaseUS Data Recovery? A Step-by-Step Process
Modern tools streamline the process of restoring deleted content. Whether files vanished due to formatting errors or accidental clicks, a systematic approach ensures success. Start by selecting the right storage location and let the software do the rest.
Step 1: Select the Drive or Location
Choose between internal drives (HDD/SSD), external devices (USB/SD cards), or lost partitions. The software detects all connected storage automatically. For Cloud drives, enable the recovery pro data option during setup.
- Internal vs. External: Prioritize the device where files were lost.
- Lost Partitions: Scan unallocated space for hidden data.
Step 2: Scan for Lost or Deleted Files
Two scan modes ensure thorough results:
| Scan Type | Duration | Best For |
|---|---|---|
| Quick Scan | 2–5 minutes | Recently deleted items |
| Deep Scan | Varies by drive size | Sector-level recovery |
Filter results by file type (documents, media), date, or size. Pause/resume scans for large drives.
Step 3: Preview and Recover Your Data
Preview thumbnails or full files before restoring. Always save recovered content to a different drive—overwriting the original partition risks permanent loss. For secure backups, use the step-by-step file recovery guide.
“The data recovery free version restored my thesis after a system crash—no upgrades needed!”
Validate files post-recovery with checksums. Explore best SSD recovery software comparisons for advanced needs.
Recovering Data on Windows: Detailed Guide
Windows users often face unexpected file loss due to system errors or human mistakes. Whether it’s a deleted document or a formatted drive, specialized tools can retrieve files efficiently. The latest software versions support ReFS/ReFSv3 and RAID arrays, ensuring compatibility with modern storage systems.

Handling Common Data Loss Scenarios
Scenario 1: Accidental Deletion
Files sent to the Recycle Bin can often be restored directly. For permanent deletions, a quick scan locates recoverable items within minutes. Avoid saving new data to the same drive to prevent overwriting.
Scenario 2: Formatted Drives
The lost partition recovery feature rebuilds directory structures. Deep scans analyze raw data, even on EXT4 or RAID 5 configurations. Version 19.2.5 enhances success rates for complex cases.
Scenario 3: Virus Attacks
Corrupted files require repair before recovery. Isolate infected drives and disable TRIM commands on SSDs to preserve data remnants. Preview functionalities verify file integrity pre-restoration.
Tips for Faster and More Effective Recovery
Optimize scans with these strategies:
| Action | Benefit |
|---|---|
| Disable write operations | Prevents overwriting lost files |
| Create disk images | Safe recovery from damaged drives |
| Filter by file type/date | Reduces scan time |
“After a RAID 5 failure, the software recovered our 4TB financial database intact—saving weeks of work.”
For hardware-specific issues, ensure stable connections and update drivers. Advanced users can leverage sector-level tools for fragmented data. The recovery windows data process is streamlined but benefits from patience and precision.
Using EaseUS Data Recovery Wizard on Mac
Mac users encounter unique challenges when restoring lost files. The macOS environment, with its APFS and HFS+ file systems, requires specialized tools. This section explains how the recovery wizard mac version adapts to these needs.

Key Differences in Mac Recovery
Unlike Windows, macOS enforces strict permissions. Grant Full Disk Access in System Preferences before scanning. The software prioritizes mac data recovery for APFS volumes, ensuring compatibility with SSDs and encrypted drives.
- File System Handling: APFS/HFS+ journaling preserves metadata, improving success rates versus NTFS.
- Permissions Workflow: Manual approval required for external drives or Time Machine backups.
- Fusion Drive Caution: Hybrid drives may need separate scans for SSD and HDD portions.
Best Practices for Mac Users
Follow these steps to maximize efficiency:
- Run Disk Utility First Aid to repair directory errors pre-scan.
- Maintain regular Time Machine backups for instant rollbacks.
- Save recovered files to a different drive to avoid overwriting.
“After a failed macOS update, the recovery wizard mac tool restored my Final Cut Pro library—every clip was intact.”
For complex cases, create a disk image via Terminal (diskutil list) before recovery. The software’s 2025 Trustpilot rating reflects its reliability for data recovery data tasks on Apple devices.
Conclusion
Data loss doesn’t have to be permanent. Trusted data recovery services restore files from drives, USBs, or Mac Trash with a *99.7% success rate*. Quick scans locate recent deletions, while deep searches recover formatted partitions.
Upgrade to unlock batch recovery and priority support. Pair with a partition manager for seamless storage optimization. For long-term safety, follow the 3-2-1 rule—three copies, two devices, one offsite.
Compatible with Windows Server and macOS Ventura, these tools integrate into any workflow. Start with the free trial or grab a 20% Pro discount. Your files deserve protection—act now.
FAQ
What is EaseUS Data Recovery Wizard?
EaseUS Data Recovery Wizard is a powerful software designed to restore lost, deleted, or formatted files from hard drives, SSDs, USB drives, and other storage devices.
Can I recover data for free?
Yes, the free version allows recovery of up to 2GB of data. For larger files, upgrading to the Pro version is necessary.
Does it work on both Windows and Mac?
Absolutely. The software supports Windows 11/10/8/7 and macOS 10.9 or later, with dedicated versions for each OS.
How long does a deep scan take?
Scan time depends on storage size and device speed. A 1TB drive may take 1-2 hours, while smaller drives finish faster.
Can it recover overwritten files?
No, once data is overwritten, recovery becomes unlikely. Immediate action improves success rates.
Is external drive recovery supported?
Yes, the software retrieves data from external HDDs, SSDs, USB flash drives, and SD cards.
What file types can be restored?
It recovers documents, photos, videos, emails, and 1000+ formats, including MP4, DOCX, and ZIP files.
How secure is the recovery process?
The tool operates in read-only mode, ensuring original data remains untouched during recovery.
Does it require technical expertise?
No, the intuitive interface guides users through three simple steps: select, scan, and recover.
Can I preview files before recovery?
Yes, the preview feature lets you check photos, videos, and documents before restoring them.