When your system fails to boot, securing your files becomes critical. The grayed-out “MacHD – Data” volume in Recovery Mode signals an unmounted drive—meaning your personal folders are temporarily inaccessible. This scenario highlights why proactive measures matter.
Recovery Mode offers limited tools like Disk Utility and Terminal, but they require technical knowledge. First Aid checks the disk structure, not physical health, so diagnosing hardware issues separately is essential.
For a seamless time machine backup, ensure your drive is functional before proceeding. Physical damage or corruption risks permanent loss if ignored. Built-in utilities help, but prevention beats repair.
Explore Apple’s support forum for troubleshooting unmounted volumes. Understanding these limits prepares you for smoother recovery efforts.
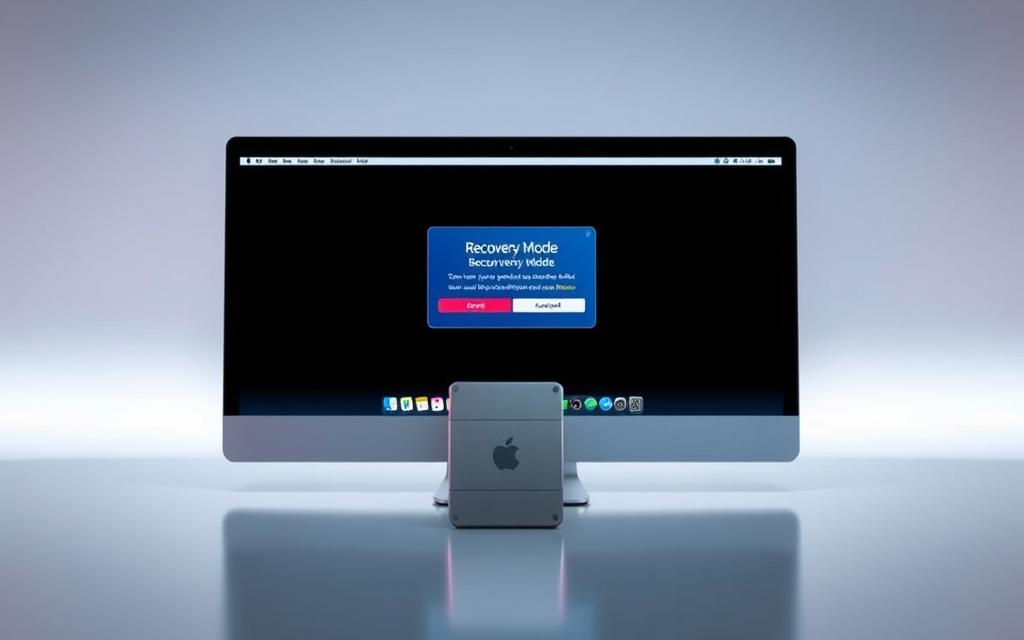
Understanding Mac Recovery Mode and Its Uses
When standard startup fails, macOS offers a lifeline through its built-in recovery mode. This specialized environment provides tools to troubleshoot, repair, or reinstall your system—without needing a functioning OS.
What Is Recovery Mode and When Do You Need It?
Accessible during startup, this mode is essential for:
- Reinstalling macOS after corruption
- Repairing drive errors with disk utility
- Restoring files from a time machine backup
Three access methods exist, depending on your Mac’s processor and macOS version:
| Type | Key Combination | Use Case |
|---|---|---|
| Local | Cmd + R | Standard repairs |
| Internet | Opt + Cmd + R | No local recovery partition |
| Legacy | Opt + Shift + Cmd + R | Older macOS versions |
Key Tools Available in Recovery Mode
Disk Utility scans for errors but has limits. Its First Aid tool may show a *false “OK” status* for hidden hardware issues. Always verify drive health separately.
Time Machine requires a functional OS installation to restore backups. For APFS volumes, note the split between System and Data partitions—only the latter holds personal files.
Advanced users can leverage Terminal for manual repairs, while Safari provides access to online support resources.
How to Backup Data on Mac in Recovery Mode?
A non-booting Mac demands immediate action to protect valuable documents. While Recovery Mode isn’t designed for full backups, it offers tools to rescue critical files before repairs. Follow these steps to transfer data safely.

Step 1: Enter Recovery Mode Correctly
Key combinations vary by Mac model. Choose the right one to avoid delays:
| Mac Type | Keys | Purpose |
|---|---|---|
| Intel-based | Command + R | Standard recovery |
| Apple Silicon | Hold power button | Boot options menu |
| Internet Recovery | Option + Command + R | No local partition |
For encrypted drives, use Disk Utility’s “Mount” button after selecting the volume.
Step 2: Mount and Verify Your Drive
If your disk appears grayed out, select it in Disk Utility and click “Mount.” Run First Aid to check for errors—though it won’t detect hardware issues.
Note: APFS splits storage into System and Data volumes. Personal files reside in the latter.
Step 3: Transfer Files via Terminal
Since Time Machine isn’t available here, use Terminal for manual transfers. Connect an external drive, then enter:
cp -R /Volumes/MacHD/Users /Volumes/ExternalDrive
Verify the transfer with ls /Volumes/ExternalDrive/Users. For spaces in directory names, use backslashes (e.g., Macintosh\ HD).
Tip: Wi-Fi setup is required for Internet Recovery—click the menu bar icon to connect.
Troubleshooting Common Recovery Mode Backup Issues
Technical glitches often appear when you least expect them. When critical operations fail, knowing advanced solutions saves storage and prevents data loss. This section addresses three persistent challenges.
Dealing with Unmounted or Grayed-Out Volumes
A grayed-out disk usually indicates partition errors or encryption locks. Try these steps:
- In Terminal, run
diskutil listto identify unmounted volumes - For FileVault, use
fdesetup unlockwith admin credentials - Repair partition maps with
diskutil repairDisk /dev/disk0
Note: If the drive remains inaccessible, hardware failure may require professional help.
Resolving “Permission Denied” Errors During Reinstallation
These errors often stem from system protections. Reset NVRAM first by restarting and pressing Command+Option+P+R.
If issues persist, disable SIP in Terminal:
csrutil disable
After repairs, re-enable it with csrutil enable for security.
When First Aid Reports Misleading Results
First Aid may show false positives for failing hardware. Verify your disk thoroughly:
| Command | Purpose |
|---|---|
diskutil verifyVolume disk1s1 |
Checks APFS integrity |
dd if=/dev/disk1 of=backup.dmg |
Creates emergency disk image |
For hardware checks, press D at startup to run Apple Diagnostics.
Alternative Methods to Recover Data When Recovery Mode Fails
Failed recovery attempts don’t mean your data is lost forever. When standard tools fall short, these advanced techniques can retrieve files from unresponsive systems.

Using Target Disk Mode to Access Files from Another Mac
This method turns your Mac into an external drive, accessible via Thunderbolt. Follow these steps:
- Connect both Macs with a Thunderbolt cable.
- Restart the problematic Mac while holding the T key until the Thunderbolt icon appears.
- On the working another Mac, the target disk mounts as a removable volume.
For encrypted drives, unlock them via Disk Utility before transferring files. Brands like Samsung T7 offer reliable storage for large transfers.
Creating a Bootable macOS External Drive for Data Recovery
A bootable macOS installer bypasses system failures. Use Terminal to prepare a USB or external drive:
sudo /Applications/Install\ macOS\ Ventura.app/Contents/Resources/createinstallmedia --volume /Volumes/MyVolume
After creation:
- Boot from the drive by holding Option at startup.
- Run Disk Drill or Terminal commands to extract files.
- SanDisk Extreme drives are ideal for this purpose due to their speed.
Note: Target Disk Mode works only between Macs, while a bootable macOS drive operates independently. Choose based on your hardware availability.
Best Practices to Avoid Data Loss in the Future
Smart storage management reduces risks when hardware or software fails. Implementing structured routines minimizes emergencies and ensures your files remain accessible. Focus on automation and regular maintenance for long-term protection.

Automate Protection with Time Machine
Configure hourly snapshots via System Settings > General > Time Machine. Connect an external drive formatted as APFS or Mac OS Extended (Journaled). The 3-2-1 strategy enhances security:
- 3 copies of critical files (primary + two backups)
- 2 local backups on separate devices
- 1 offsite copy via network or cloud services like Backblaze
Advanced users can schedule backups via Terminal:
tmutil enable
Monitor Hardware Health Proactively
Disk Utility’s SMART status reveals early warning signs. Check these indicators monthly:
| Status | Meaning | Action Required |
|---|---|---|
| Verified | Healthy drive | None |
| Failing | Impending failure | Immediate replacement |
| Not Supported | External drive | Manual verification |
Tip: For enterprise systems, combine Disk Utility checks with enterprise monitoring tools. Test backup integrity by restoring random files quarterly.
Conclusion
A damaged drive doesn’t always mean lost files—if you act fast. Mounting volumes and verifying health with Disk Utility are critical first steps.
Time Machine simplifies recovery by automating backups. Set it up before issues arise to avoid costly data retrieval later.
Physical drives degrade over time. Monitor S.M.A.R.T. status and replace failing hardware immediately. For encrypted or severely damaged drives, professional help may be your only option.
Apple’s data recovery services (1-800-APLCARE) offer solutions for complex cases. Don’t wait—secure your data today with a Time Machine routine.
FAQ
What is Recovery Mode used for on a Mac?
Recovery Mode provides essential tools for troubleshooting, restoring files, or reinstalling macOS. It’s useful when your system fails to boot or requires critical repairs.
Can I use Time Machine in Recovery Mode?
Yes. After booting into Recovery Mode, select Restore From Time Machine Backup to recover files from an external drive or network storage.
Why won’t my drive mount in Disk Utility?
Unmounted drives may indicate corruption or hardware failure. Run First Aid in Disk Utility or try accessing the drive via Terminal using the diskutil mount command.
How do I fix "Permission Denied" errors during macOS reinstallation?
Ensure your user account has admin privileges. If the issue persists, erase the drive using Disk Utility and retry the installation.
What’s the difference between Target Disk Mode and Recovery Mode?
Target Disk Mode turns your Mac into an external drive, allowing file transfers via another computer. Recovery Mode focuses on system repairs and reinstalls.
How often should I back up my Mac?
For optimal safety, schedule Time Machine to run hourly or daily. Regularly verify backups by testing file restoration.
Can I create a bootable macOS drive without Recovery Mode?
Yes. Use Terminal or apps like DiskMaker X to create a bootable installer on an external drive for emergencies.